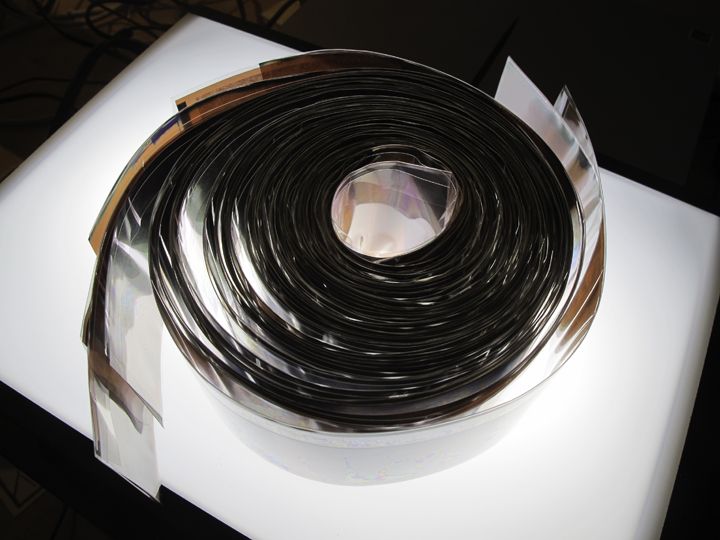
In total I shot about 50 rolls of medium format color film. All of my film was processed at Citizens Photo in Portland, OR. Why Citizens? The cost, even with shipping, is about half of other color labs. Very few places still handle large volumes of film. Citizens does, so the chemistry is excellent which results in well exposed images. When processed, the film is placed into clear plastic sleeves and rolled into small boxes to avoid dust and damage.
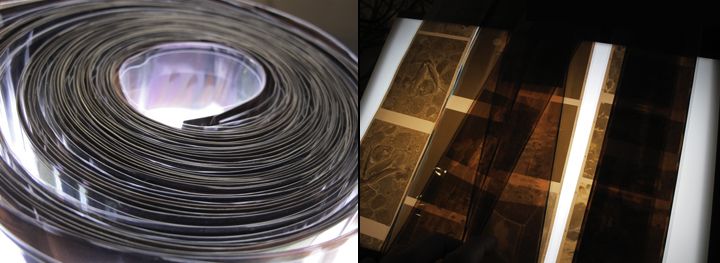
I untangle my film and then lay it out on a small light table to preview images.
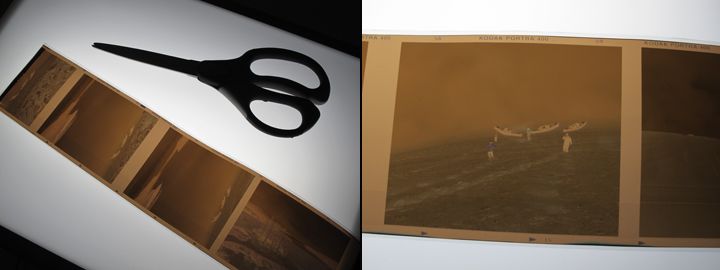
Then starting at either end of the roll of film I cut between frames. Due to the size of the magnetic film holder I make cuts between every two frames.
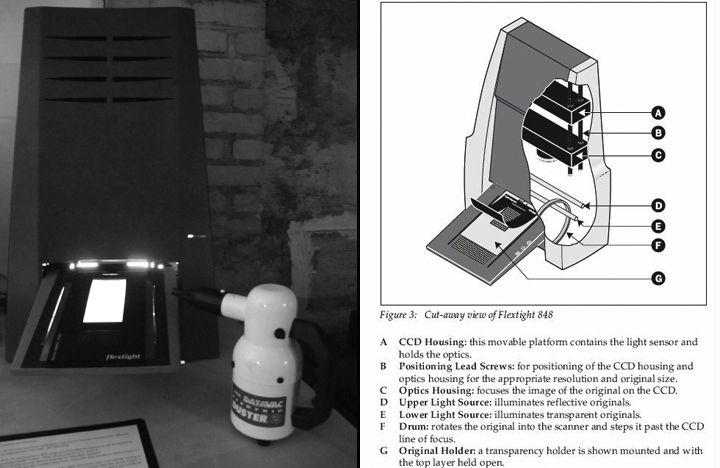
The film is then loaded into a magnetic film holder. Various film types have various holders; ie. 35mm, 6x7-6x9, 4x5. The holders magneticly attach into Hasselblad's Imacon Flextight machine which slowly moves the negative across the machine's optic lens thus scanning the film frame.
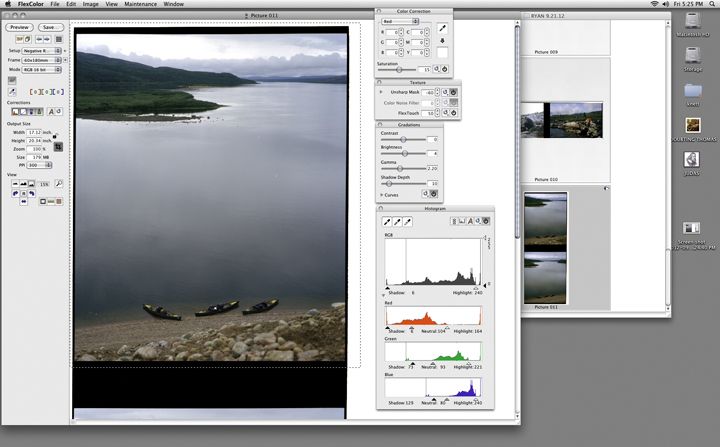
I then use FlexColor, the software associated with the Imacon scanner to preview my film. Selecting within the image I then adjust color, preserve highlight and shadow detail and eventually save my photo as a TIFF file. For those interested in the technical size of these files, I am scanning my images at about 65% of their output capability: so they are 16x24" at 300 dpi, 190MB file.
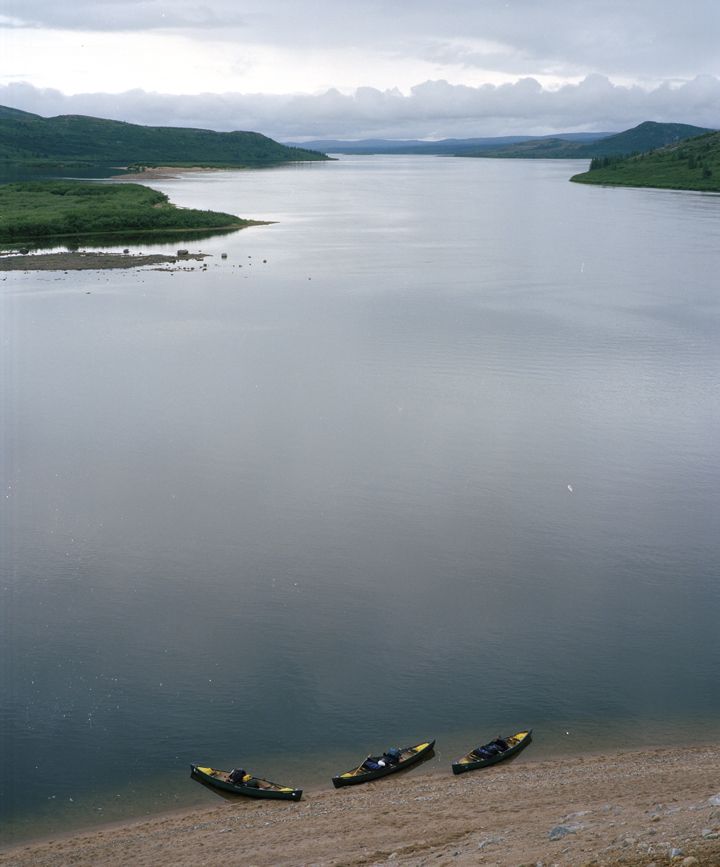 Above you will see the file in its raw form, ie with dust, scratches and no color adjustment. I will then open the file in Photoshop and using various layers make adjustments to correct the image. In this particular image it looks like there is a fair amount of dust in the water around the canoes. I will look at my negative so see if this dust somehow was in the image before it was processed or if it just needs to be hit with more air or a cloth and re-scanned to avoid having to clean the digital file.
 It is my hope that you have a better understanding of my digital work flow and the effort that goes into processing these negatives. Sure, it's not as easy as taking a digital image and uploading it... but to me the advantage of shooting with film and scanning in this manner are well worth it. Over and out.


No comments:
Post a Comment